
The complete guide
Choosing White 18 Count Aida Cloth for Your Next Project
Start with the fabric your design needs
A cross stitch project can take hours of careful work. A little planning before you cut gives that work a better starting point.
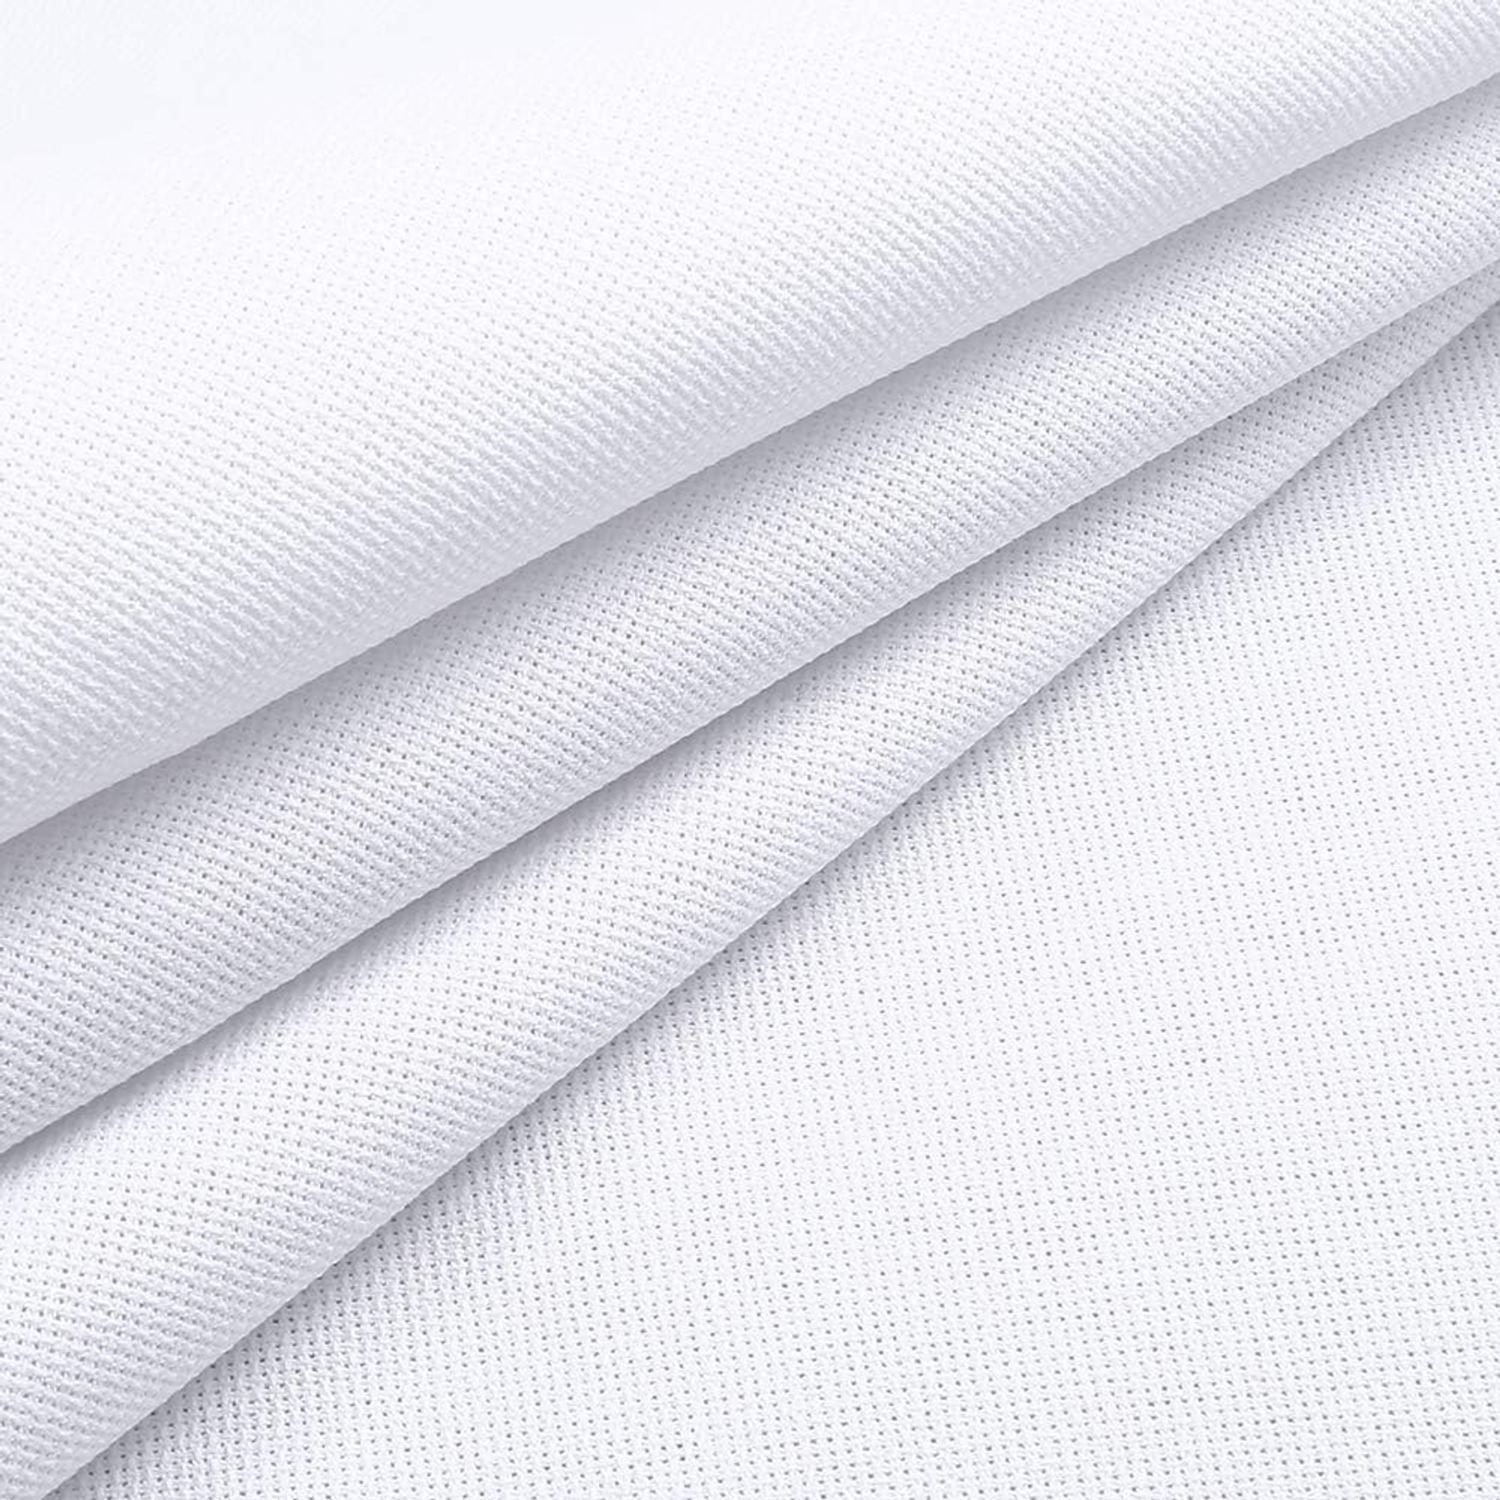
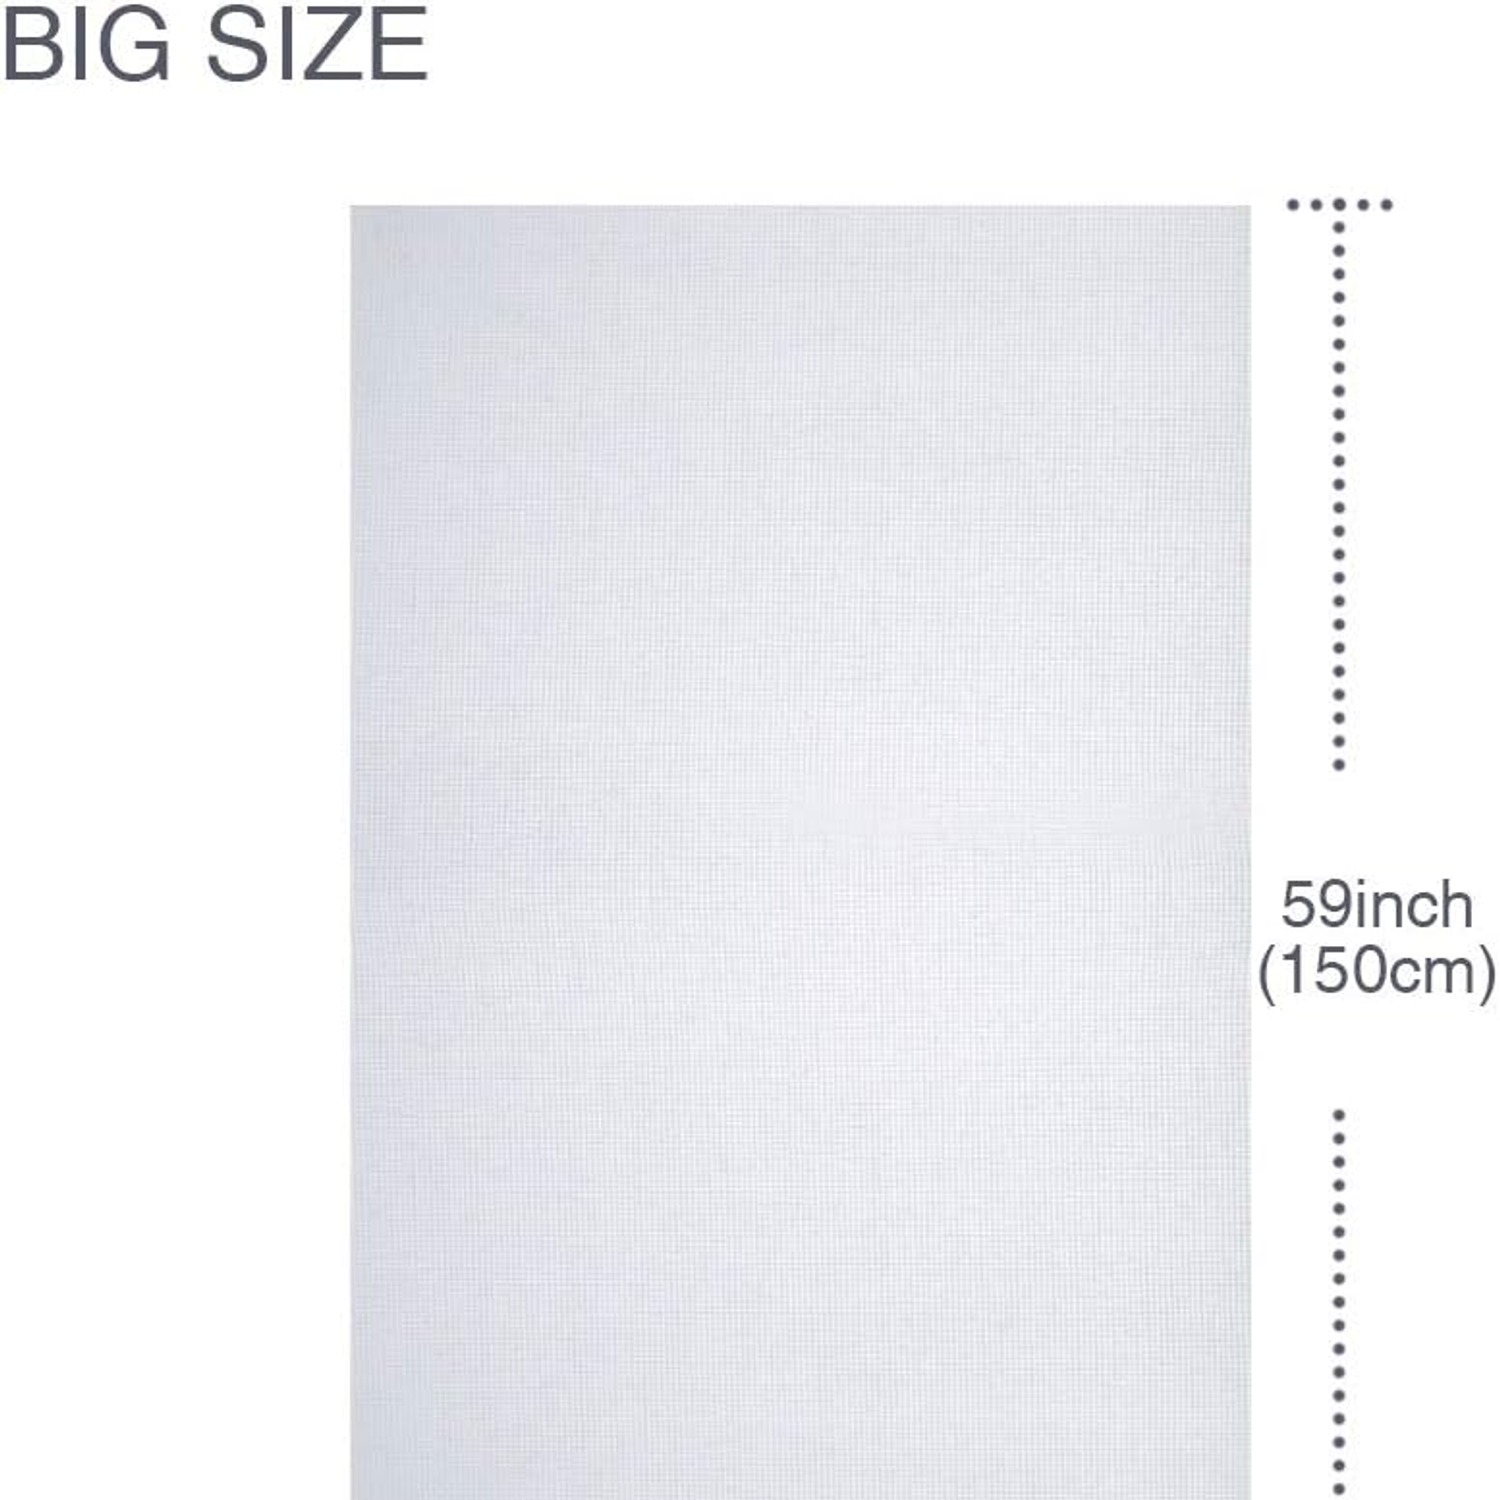
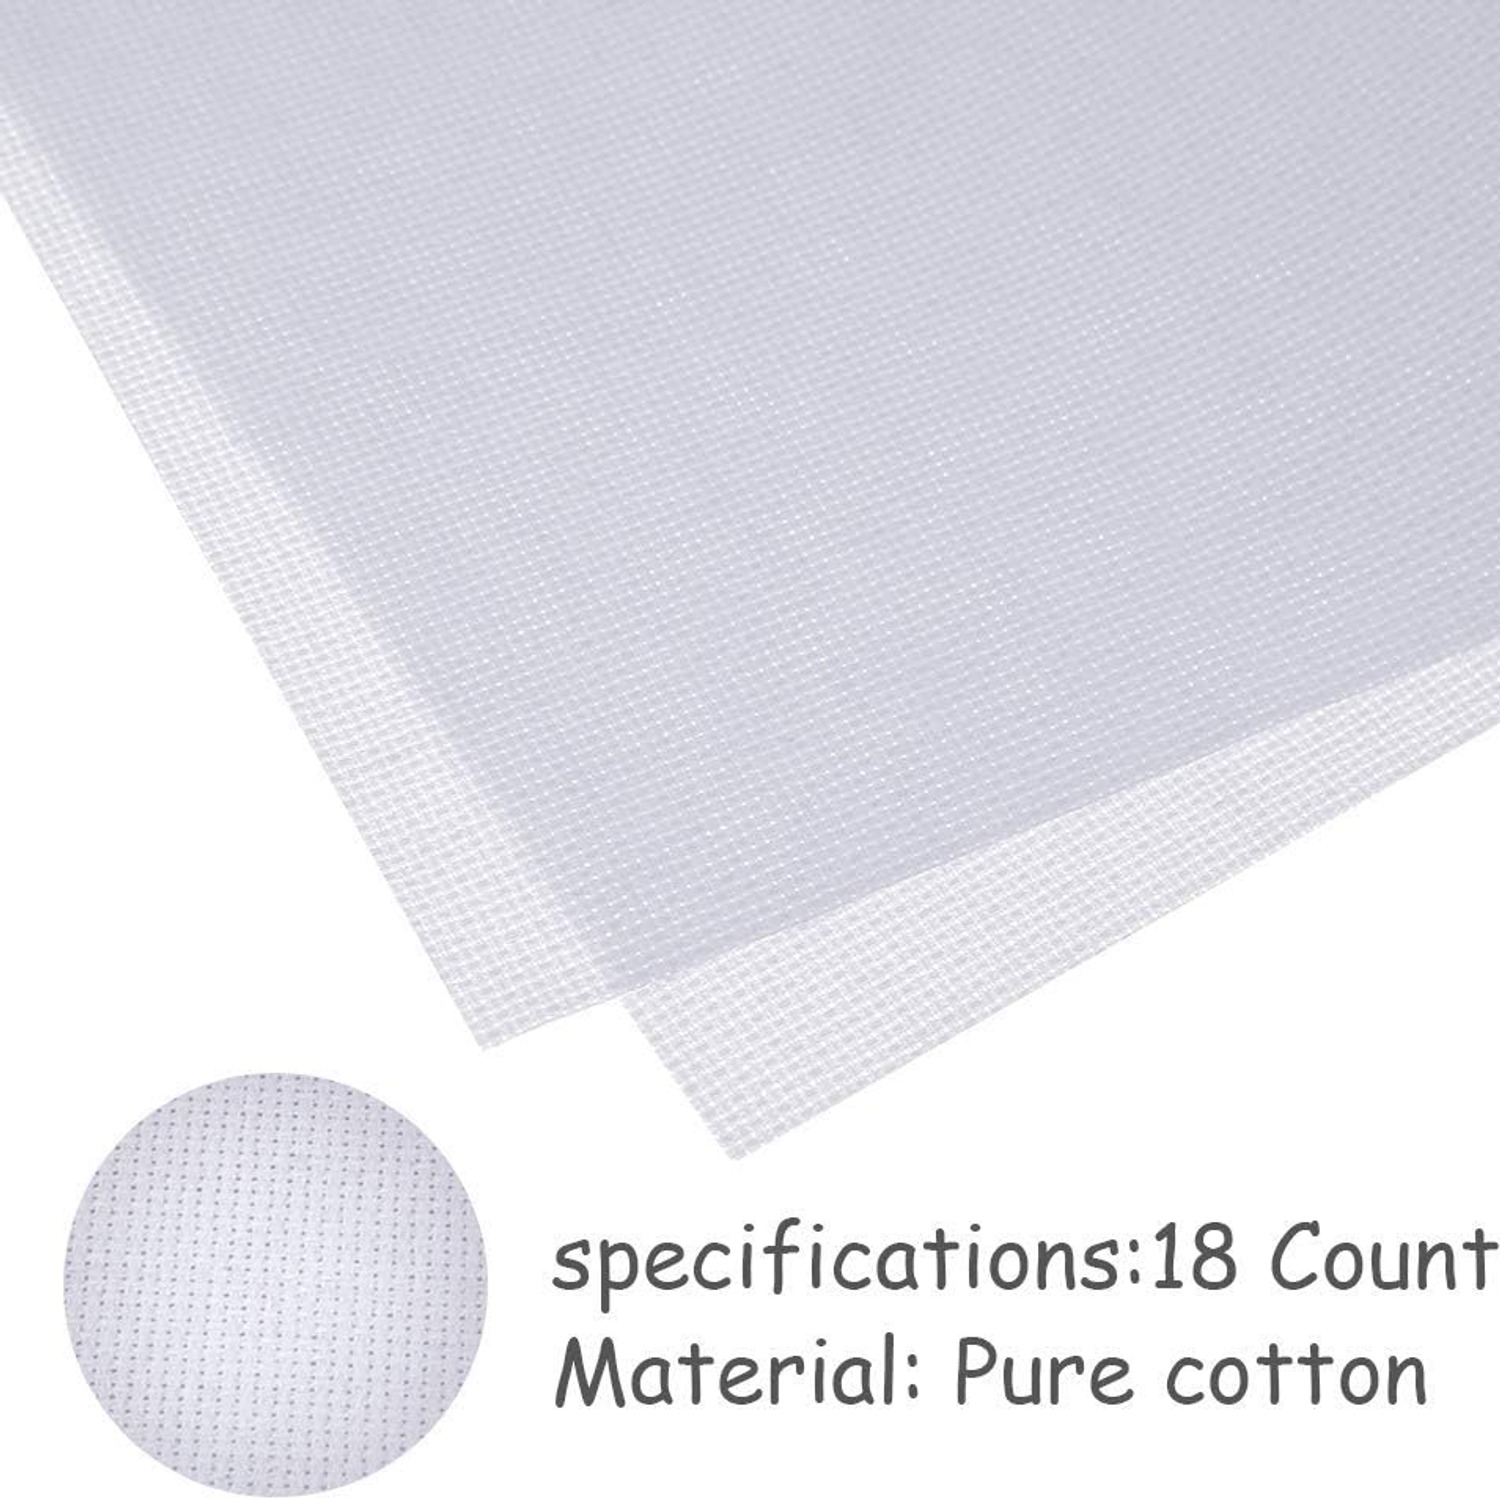
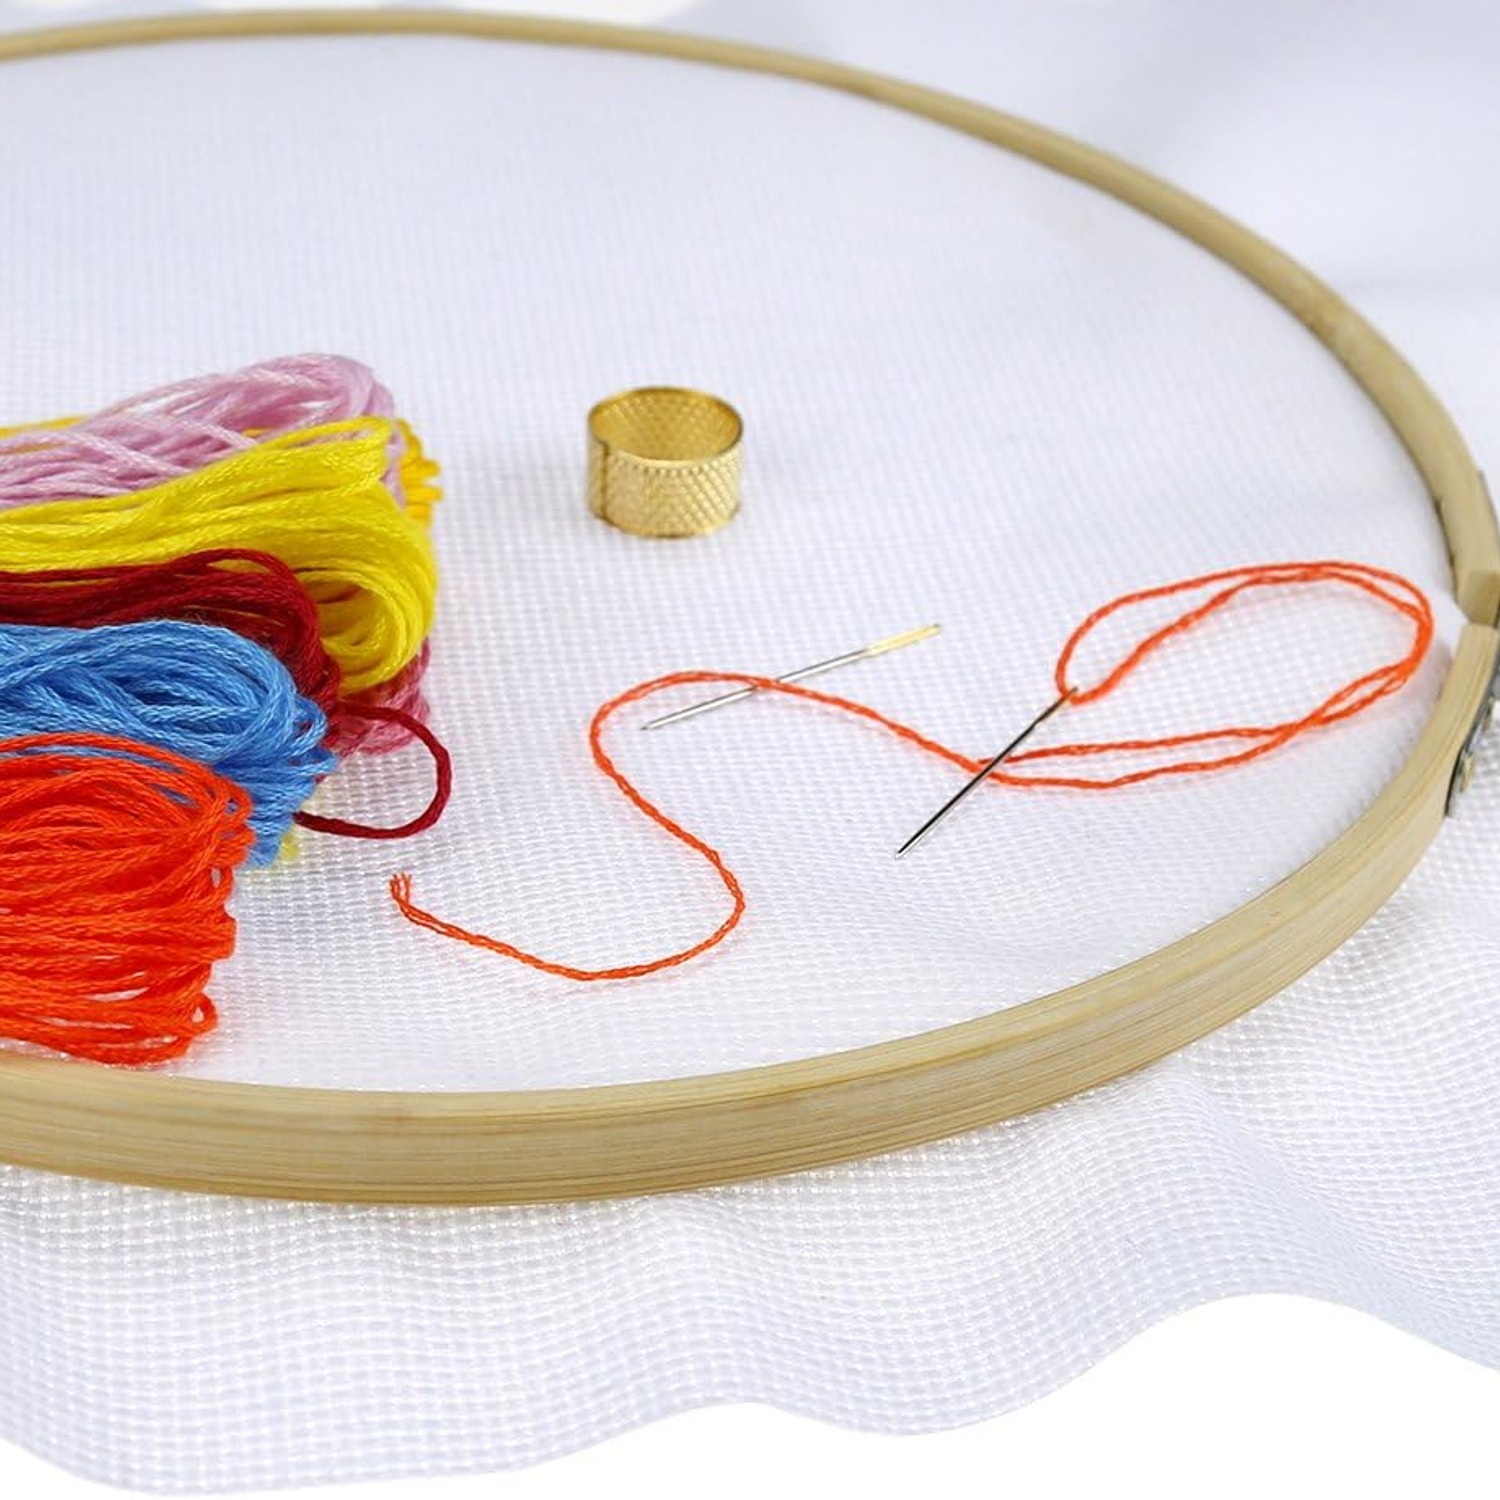
This white aida cloth is supplied as one piece measuring 99 x 150 cm (39 x 60 in). It has an 18 count grid and is listed as cotton. You choose how to lay out your design and where to cut, rather than ordering a custom length.
The main decision is whether that count and piece size suit your chart. Think about the stitched area first, then the space you need around it. The fabric has to hold both.
Understand what 18 count changes
Aida has a grid that helps you place and count stitches. The count tells you how many squares fit into an inch. With one full cross worked over each square, 18 count aida holds 18 crosses per inch.
A higher count makes the same counted design smaller than it would be on a lower-count fabric. It also makes the squares smaller to see and work through. That may suit a detailed picture, but it is worth considering your comfort during longer stitching sessions.
The chart still tells you where each stitch goes. The fabric count changes the scale, not the arrangement of those stitches. If your pattern recommends another count, do not carry its finished measurements across without checking them.
For a standard full-cross design, divide the chart's width in stitches by 18. Do the same for its height. The results give you the stitched size in inches, before any margins.
Check the whole layout before cutting
The supplied piece is 99 x 150 cm (39 x 60 in). That gives you a large area to plan with, but the full piece size is not the same as the largest practical stitched design. You still need fabric outside the stitched area.
Those edges help you hold the work while sewing. They may also be needed for mounting, framing or another finish. A picture intended for a frame can need a different allowance from a small sewn item.
Write down your chart dimensions and intended margins before reaching for scissors. If you plan to divide the piece, draw a simple layout on paper. Include the borders around every project, not just the stitched centres.
Turn the paper layouts around if that helps them fit, while checking any direction requirements in your pattern. Leave yourself time to measure twice. Once the fabric is cut, its options become more limited, and it no longer meets the change-of-mind return conditions.
Decide whether the grid suits your eyes and hands
Choosing cross stitch fabric is partly about the finished picture and partly about how you like to work. An 18 count grid can suit stitchers who enjoy smaller stitches. It may feel less comfortable if you prefer larger, easier-to-see holes.
If you already stitch on 18 count, this is a familiar count to plan around. If you are new to it, compare a sample of the count with one you know before committing to a long project.
Good task lighting can make counting easier. Some stitchers also prefer magnification for smaller grids. These are working choices rather than features supplied with the cloth.
There is no single count that suits everyone. A fabric that lets you see the holes clearly and keep a steady rhythm is more useful than one chosen only for a smaller finished size.
Choose white for the design, not by habit
A solid white background is a straightforward choice for many patterns. It leaves the stitched colours to form the picture and works as an unprinted base for your own layout.
Still, look at the unstitched areas of your design before choosing white embroidery fabric. In some patterns, those spaces are part of the picture. In others, most of the background is covered.
Pale threads may appear subtle against white, while darker threads can stand out more. Check the pattern's fabric recommendation and think about the look you want.
This is a solid white piece, not a printed or pre-marked project. You will need to follow a separate chart or create your own design. If you want a picture already marked onto the cloth, this is a different type of starting point.
Plan one large project or several smaller ones
One large piece gives you a choice about how to use it. You might keep it whole for a larger sampler or divide it for smaller designs, provided the measurements work.
Aida fabric for samplers needs careful planning around lettering, borders and open spaces. Count the complete chart, not just its central motif. An outer border can add more width and height than you first expect.
For several small projects, compare the whole cutting plan before starting any of them. A narrow leftover strip may look useful but still be too small once handling margins are included.
Keep usable offcuts for testing thread coverage, wash methods or machine settings. A test piece can help answer practical questions without putting the main project at risk. The store supplies a fixed-size piece; any dividing or trimming is done by you.
Match the rest of your supplies
This is fabric rather than a complete embroidery kit. Thread, needles, charts and hoops are not listed as included, so check your supplies before you begin.
Use your pattern as the starting point for thread type and strand count. If the pattern was written for a different fabric count, test the coverage before stitching a large area. The look of a cross can change with the amount and type of thread.
Choose a needle that works with your thread and the fabric holes. The maker does not give a needle size, so avoid treating any one size as a supplied requirement.
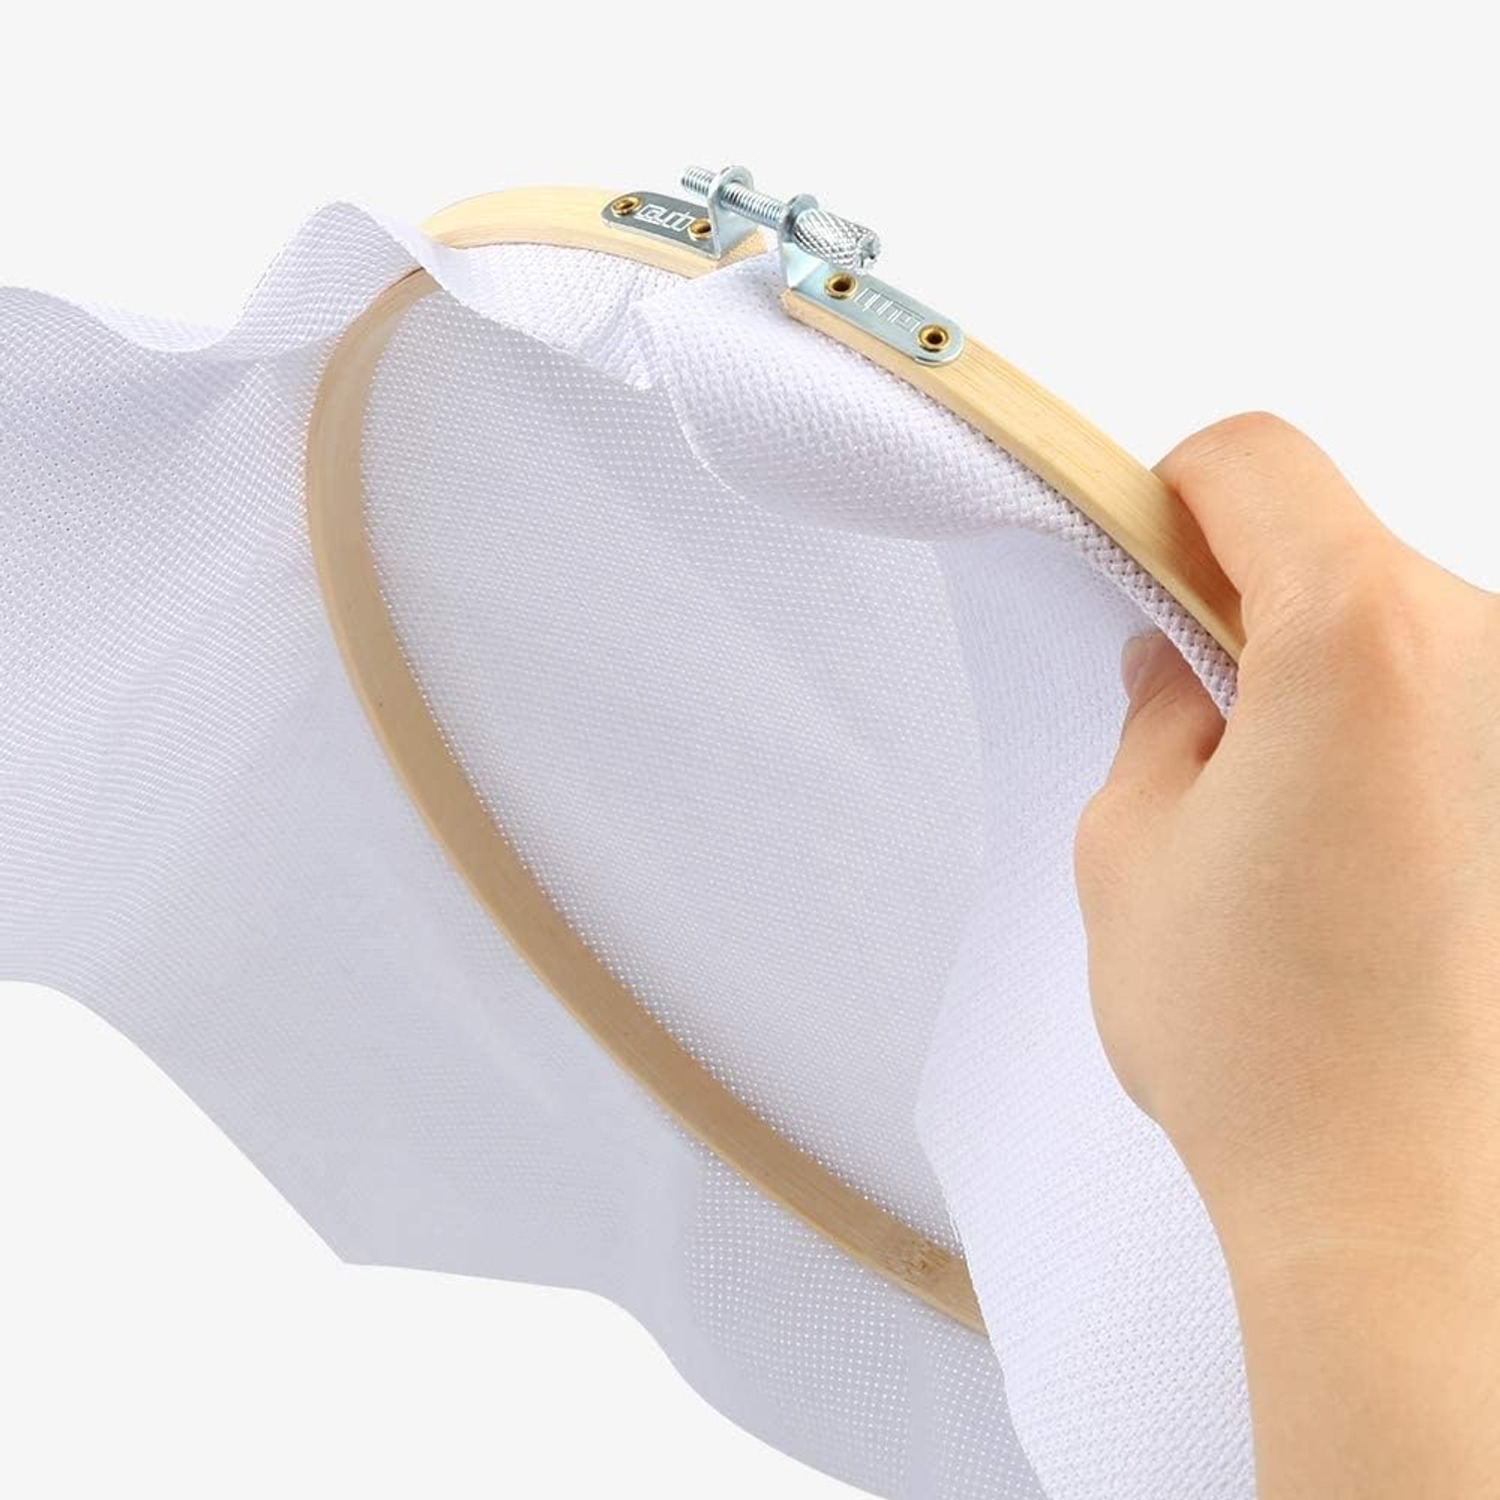
A hoop or frame can help you handle the work. Keep the tension even rather than pulling the cloth out of shape. If counting starts to drift, stop and check the grid before adding more stitches.
Consider other embroidery uses carefully
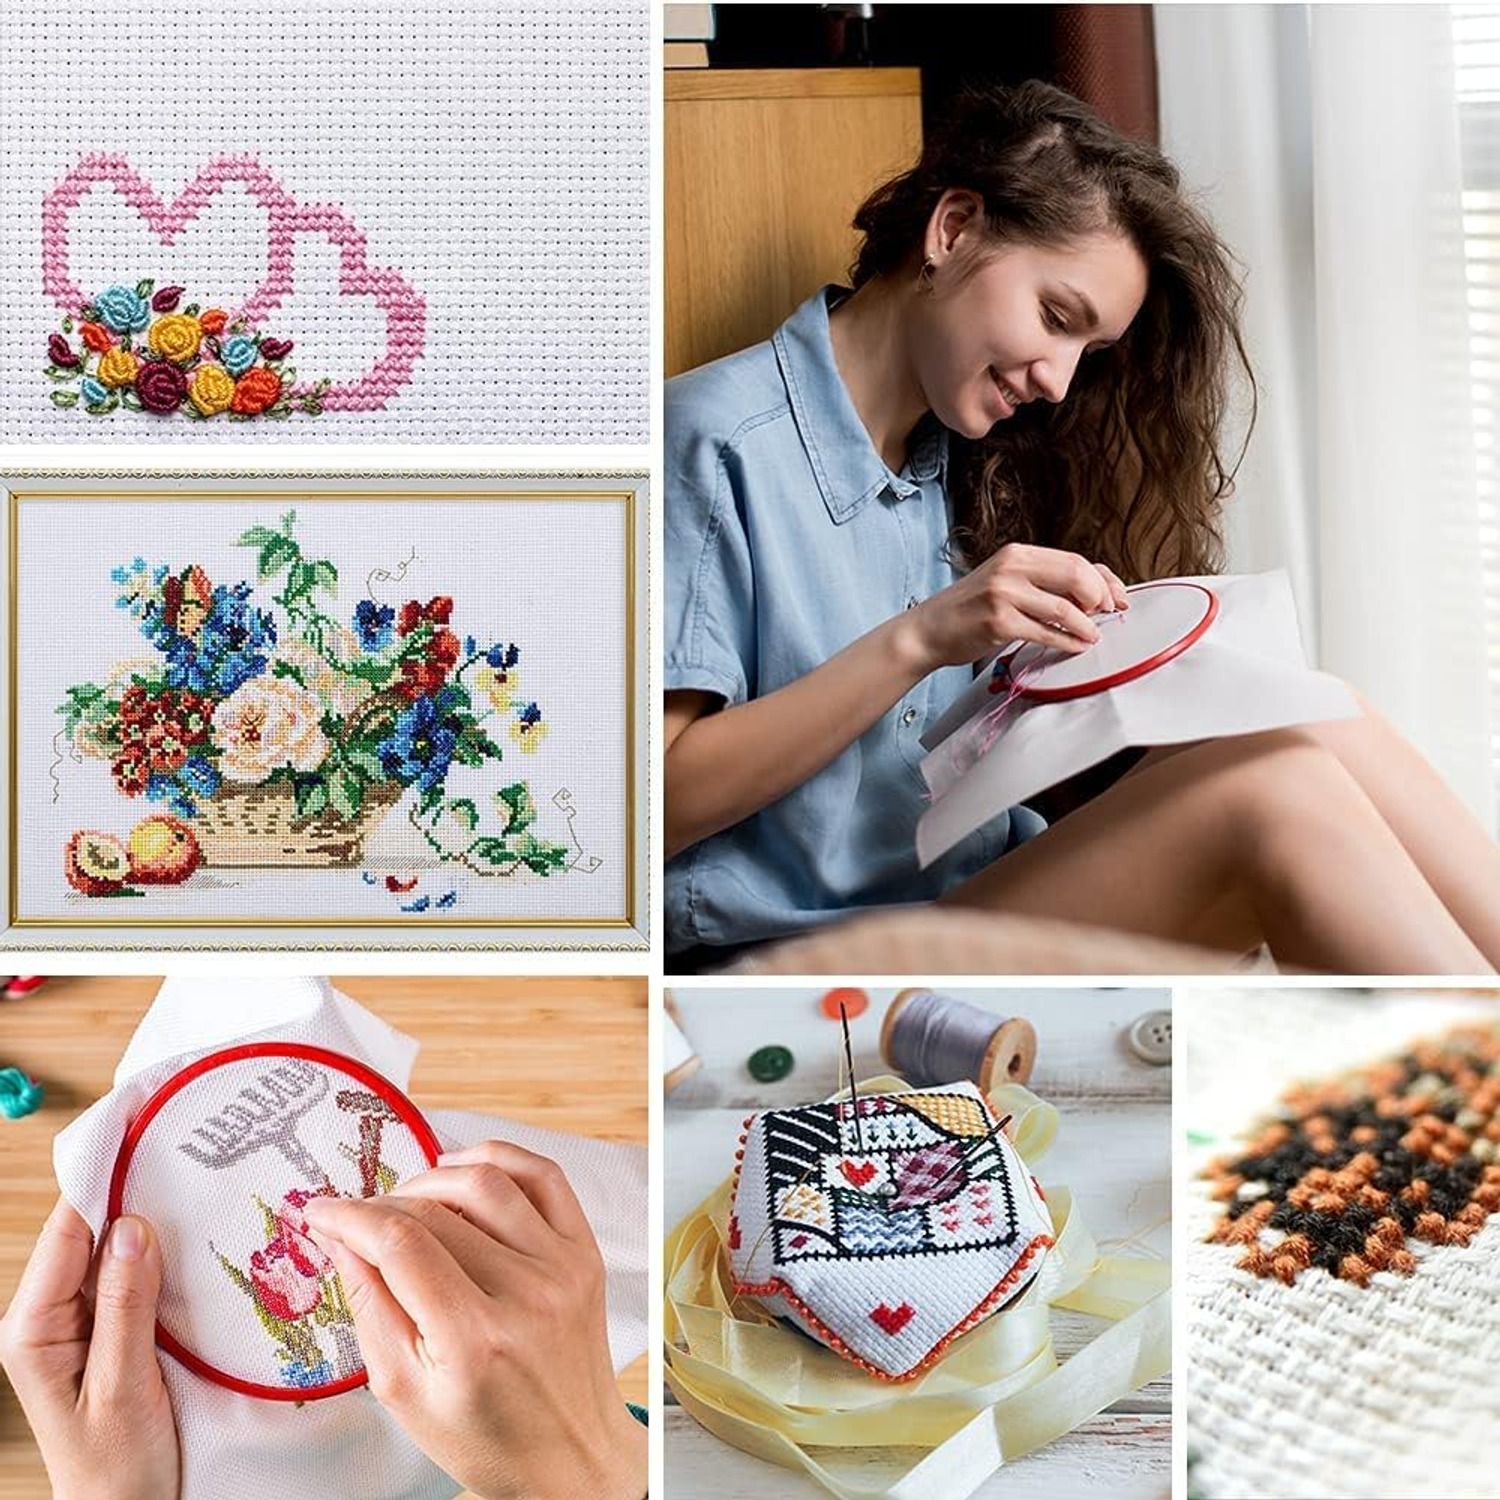
Cross stitch is not the only use named by the maker. DIY embroidery and machine embroidery are also suggested. That does not mean every technique or machine setup will work without testing.
For hand embroidery, consider how the aida grid will affect stitch placement and the look of open areas. A pattern designed for a smooth, tightly woven fabric may look different on this counted base.
For machine embroidery fabric, the design, stabiliser and machine setup all matter. The maker does not state settings or stabiliser requirements for this piece. Test on a spare section and follow the guidance for your machine and embroidery design.
Treat the listed uses as starting points for project planning, rather than a promise about a particular result.
Read the care details before washing
The product details list machine washing. They do not give a temperature, cycle, drying method or shrinkage figure. A cotton description alone does not answer those questions.
Finished embroidery also includes more than fabric. Your threads, trims or other additions may need gentler care. Check their instructions before deciding how to wash the completed piece.
If you want to wash before stitching, consider testing a spare section first. Measure it before and after your chosen method if size matters to your plan. Do not assume that the main piece has already been prewashed.
Keep unused cloth clean and dry while you work. Protecting the white surface from marks is easier than trying to remove them later. Store spare fabric away from dust and direct sunlight.
Buying for someone else or for a deadline
Embroidery fabric can make a useful gift when you know what the recipient likes to stitch. The key detail is their preferred count. Someone who usually uses a larger grid may not want 18 count, even if they enjoy cross stitch.
Ask about the pattern they have in mind if you can. That helps you check both the fabric count and the amount needed. Remember that this piece does not come with a chart or stitching tools.
For a deadline, check delivery information before ordering. A lead time is not specified by the maker, so leave room in your plans rather than assuming an arrival date.
Inspect the piece on delivery before washing, cutting or using it. That keeps your options open if it does not suit the intended project.
The short version
Choose this cloth if you want one piece of solid white, cotton 18 count aida measuring 99 x 150 cm (39 x 60 in). Check your chart's stitched size, add finishing margins and plan every cut before starting.
For a change-of-mind return, the fabric must be unwashed, uncut, unused and in its original packaging, with the return requested within 14 days of delivery. You pay the return postage. Faulty or wrongly described goods are put right free of charge.
The useful first step is simple. Confirm that you want an 18 count grid, then make sure your full project layout fits.